

Binding by Machine:
One of my proudest accomplishments in learning how to make a quilt has been developing a machine finished binding method that works for me. But, believe me, this was not achieved without a lot of trial and error.
For my first attempt, on my Fall Leaves quilt, I followed the instructions given by Rita of Red Pepper Quilts. She is a polished quilter who turns out the most beautiful quilts. Rita's method is accomplished by sewing the final seam from the front of the quilt, ditch quilting along the binding, and catching the binding that has been folded around to the back of the quilt, from underneath. This method involves the added step of pinning. Yet, I still missed some places on the back binding and it did not look straight. I was very disappointed with my first attempt at machine binding.
But I did not give up! I found out about the Flanged Binding method. And after using that method for a while, I mastered a machine binding method that works well for me. I topstitch the final seam from the front of the quilt. This method requires no pinning.

Flanged Binding:
When I found out about the flanged binding method, I fell in love with this technique, which uses two narrow complimentary strips to make the binding strip. This method adds a little punch of colour and frames your quilt in style. This binding method is accomplished by sewing from the front of the quilt, ditch quilting on top of the binding, along the seam where the two strips meet. This will result in a seam line, next to the binding, on the reverse side of the quilt.
After practicing the flanged binding method on many, many quilts, my confidence grew with experience. And I was eager to attempt machine sewn binding without the extra step of sewing two narrow strips together to make the binding strip. Click here to go to the Flanged Binding tutorial.
Making Binding:
When making binding there are two measurements you need to determine first - how long does your binding need to be and how wide do you want your binding to be.
To determine how long your binding needs to be:
Measure the perimeter of your quilting project. For our example 40" x 60".
40 + 40 + 60 + 60 = 200"
200" divided by 42" (the standard width of fabric) = 4.76 strips Rounded up = 5 strips
So I needed 5 width of fabric strips, cut on the crossgrain, to make enough binding for this runner.
For an explanation of what crossgrain is, please click here.
To determine how wide to make your binding:
For someone just starting out with machine finished binding, I recommend cutting your strips 2.5" wide, as you would for a hand finished binding. After you have some experience, try cutting your strips 2.25" wide. This will result in a finished binding that is more even in width on the front and back of your quilt. And if finishing with the topstitching method, the seam line will lie closer to the binding on the back of the quilt.
Joining the Binding Strips:
In our example, we have cut 5 binding strips from the crossgrain of the fabric. Remove the selvages ensuring the ends are cut at a 90 degree angle to the strip edges. Lay the binding strips in a pile, in front of your machine with the cut ends to the right and the folded ends to the left.


For instructions on how to apply the binding to your finished quilt, please follow the same instructions given in the Flanged Binding tutorial.

Scrappy Binding:
To make a scrappy binding, make your binding strips from the same fabric used in your quilt top. For this example, the Negative version of my Stepping Stones quilt, I used strips that were cut from the crossgrain and then cut them in half, using 21" long strips rather than the 42" lengths, to give it a more scrappy feel.
Little Bit Binding:
For when you want to add just a little bit of sparkle to your binding, the Little Bit binding method uses contrasting fabrics to add a little punch of colour. These little bits are added between each long binding strip.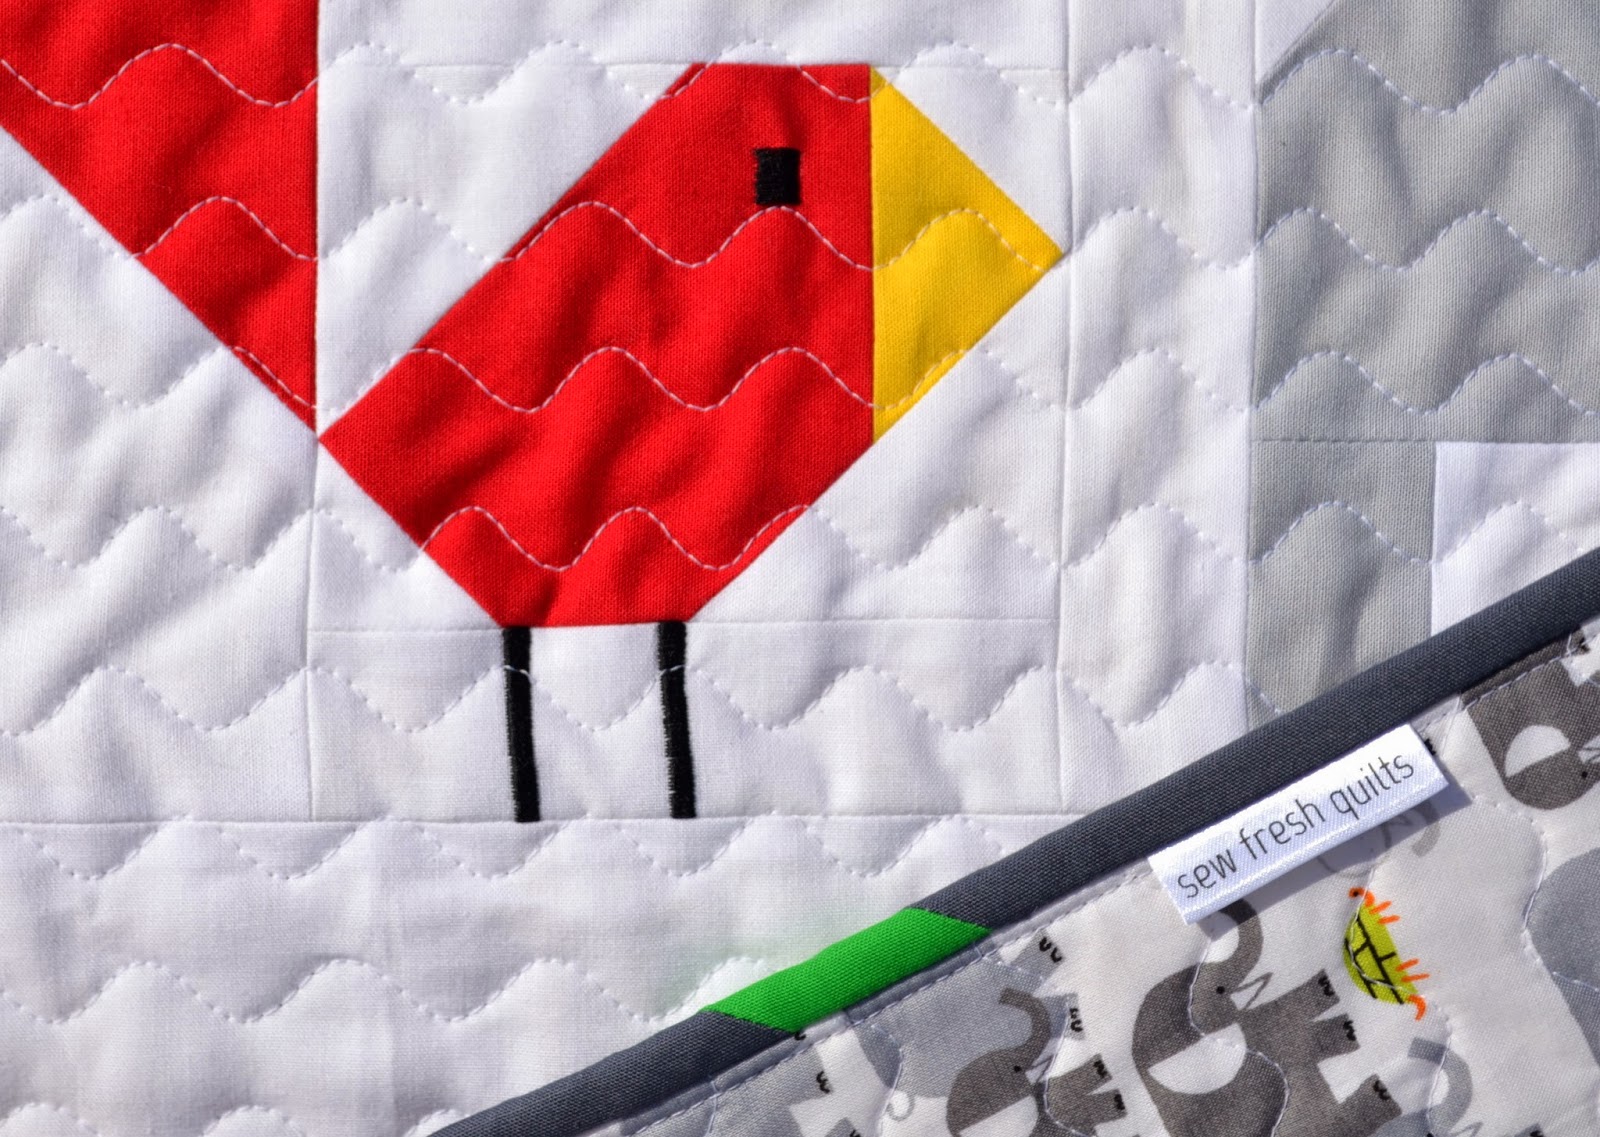
To make the Little Bit binding, make your binding strips as usual. Also cut the same number of "little bits" from contrasting fabrics. The "little bits" each measure the same width of the binding strips and are 3.5" long.
For my Elephant Parade quilt, I choose same fabrics used in the quilt top to make my little bits.
Step 1: Take your first little bit and your first full length binding strip.
Step 2: Draw a diagonal seam line, as shown in purple, and sew to make a miter join.
Step 3: Using your acrylic ruler and rotary cutter, trim a 1/4" seam.
Step 4: Press the seam open and arrange your next little bit to be joined to the other end of that first strip.
Step 5: Draw a diagonal seam line, as shown in purple, and sew to make a miter join.
Step 6: Using your acrylic ruler and rotary cutter, trim a 1/4" seam.
Step 7: Press the seam open.
Step 8: Arrange your next full binding strip to be joined, draw a diagonal seam line, as shown in purple, and sew to make a miter join. Use your acrylic ruler and rotary cutter to trim a 1/4" seam.
Step 9: Press the seam open. Arrange your next little bit to be joined, draw a diagonal seam line, as shown in purple, and sew to make a miter join. Use your acrylic ruler and rotary cutter to trim a 1/4" seam.
Step 10: Press the seam open. Continue alternating your remaining full length binding strips and little bits.

When you have joined all your little bits and long binding strips together, press with wrong sides together along the entire length of the binding. When you are ready to apply the binding to your finished quilt, begin using the end that has a little bit on it. When you come to the end and are ready to join the tails of your binding, lay the last long binding strip, overlapping the beginning "little bit" 2.25", and trim the long binding strip.
Binding Inside Corners:
There are a LOT of tutorials out there on how to make and apply binding to the outside corners of a quilt. But what do you do when you have inside corners like when I made this brightly coloured Scrappy Triangle quilt.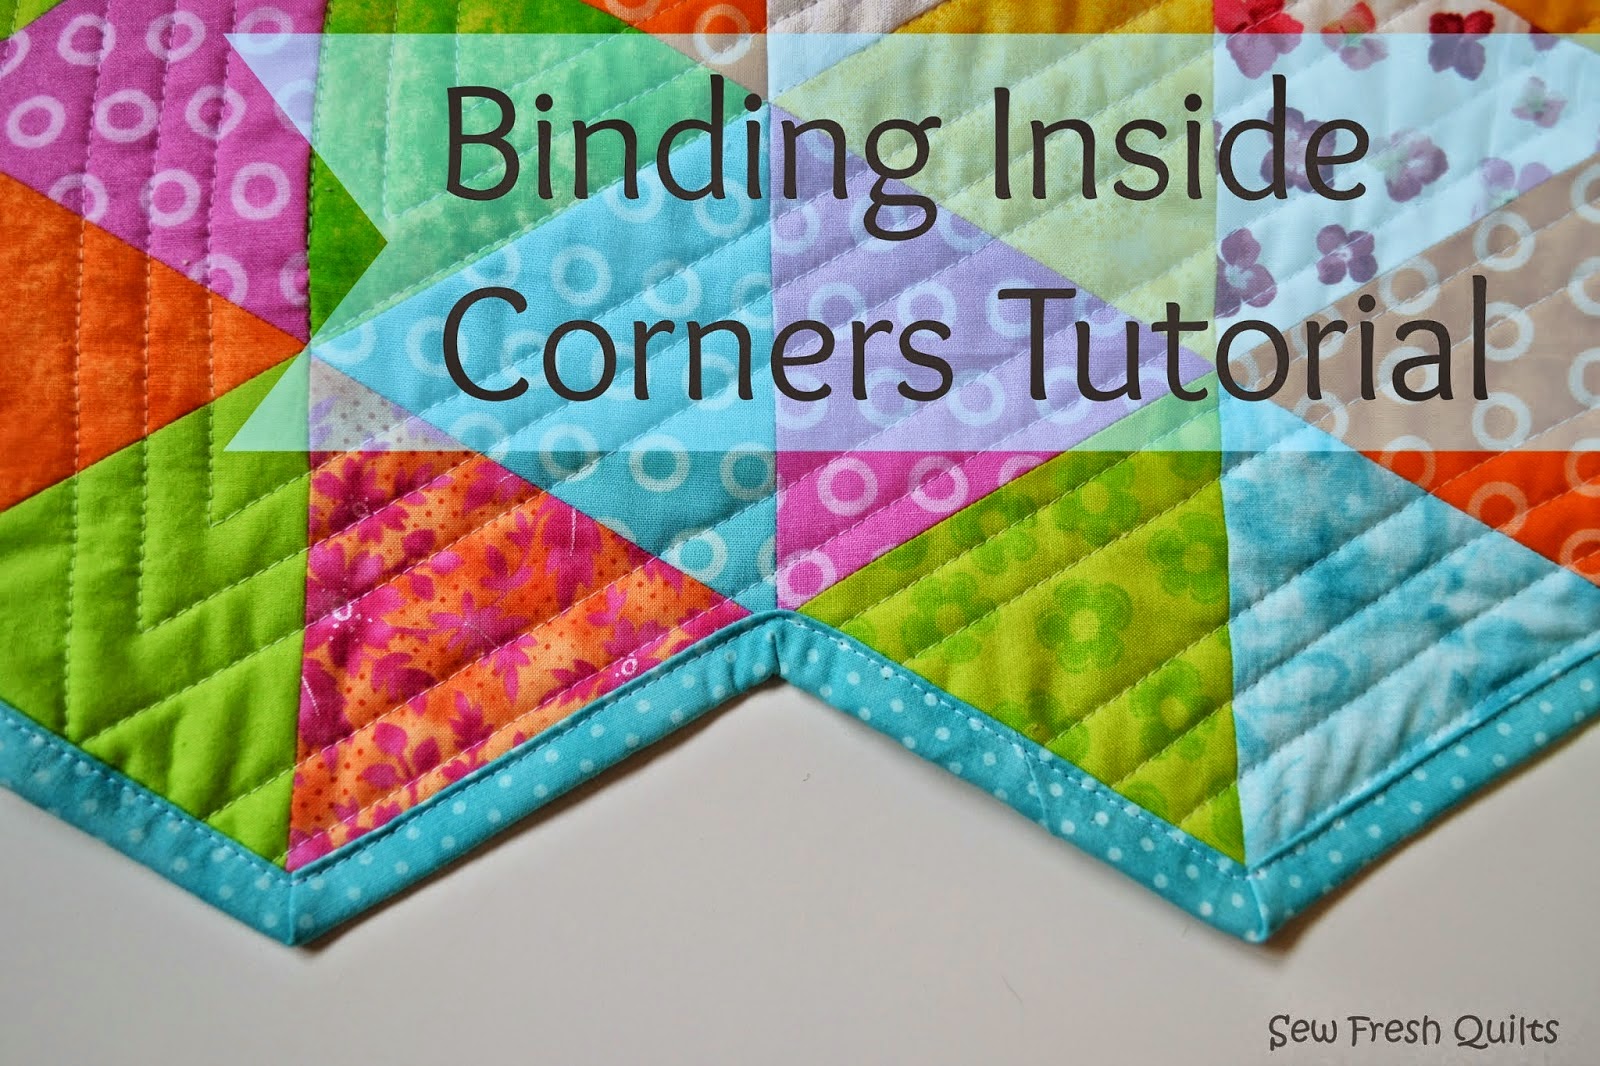
One word of advice I can share that will help you to become proficient at machine finished binding -
PRACTICE.
Practice makes perfect. And it is just so true. There are a gazillion binding tutorials out there. Read a few of them. Bookmark the ones you think will work for you. And practice. Take it from me and my Fall Leaves quilt. Don't think you can't do it just because it didn't turn out perfect the first time.
Don't give up - PRACTICE. You can do it!
Here is a list of tips for mastering double fold machine sewn binding:
- Cut your binding strips from the cross grain (selvage to selvage), across the width of the fabric.
- Start out making your binding strips 2.5" in width, then use 2.25" when you are more confident.
- ALWAYS measure your quilt's sides and make a plan to ensure none of your binding seams will end up at the corner. Or lay your binding around the edge to see if any seams land at the corners.
- After attaching the binding to the back of the quilt, use a hot iron
to press the binding back towards the front of your quilt. This extra
step is well worth the effort.
- Increase your stitch length when top stitching the binding onto the front of your quilt. I normally use a 3.0 stitch length. I feel a longer stitch looks more attractive than the short piecing stitch length which is between 2.0 and 2.2
- I offset my needle, and line up the folded edge of the binding with my walking foot, to ensure a straight and even final seam line when top stitching the binding to the front of the quilt.
OTHER SOURCES:
The following are three other sources for binding instructions that I highly recommend.
1) Binding tutorial by Amanda Jean of Crazy Mom Quilts. Be sure to read her additional remarks at the end of the tutorial, which she has since edited to add.
2) Binding tutorial by Rita of Red Pepper Quilts. Rita's method is accomplished by sewing from the front of the quilt, while ditch quilting along the binding, and catching the binding folded around to the back from underneath. This method involves the added step of pinning.
3) Matched Binding tutorials by Debbie of A Quilter's Table. A matched binding uses the same fabrics as the quilt top to continue the design right off the edge of the quilt. Here is her Straight Matched Binding tutorial. And here is her Angled Matched Binding tutorial.

Remember, there are many ways of doing things. And there are many great quilting bloggers who have shared their experiences by writing tutorials. Find the ones you like and Practice.
You can master machine finished binding!
I believe in you!
Keep On Quilting On!


To follow Sew Fresh Quilts by email....


17 comments:
Such a helpful post. I appreciate your tips for matching a directional print. I have never had to worry about that before, but I just bought binding fabric today that is directional. Perfect timing!
RPQ's tutorial is actually you fold over the binding to the back but stitch in the ditch on the top to catch it on the back (so the visible top stitching of the binding is seen on the back of the quilt not the front and the top stitching is hidden). I've started doing my own binding this way and have been liking it. I glue baste or use clover clips though; the idea of pinning on the back and pulling them out from underneath gives me nightmares of blindly stabbing myself!
I love your Little Bit binding, I'll have to try that one day! Thanks for linking the Matched binding tutorial too; I'd been wanting to try that on a quilt but couldn't figure it out or figure out which keywords to use to narrow down my google searches (there are a lot of binding tutorials out there!!)
This month (and probably next month!) I have been focusing on finding a good binding method for me. Clearly I need more practice on the various methods I have tried. Thanks for the tips and links. It is very helpful.
Thank you, Joanna! Glad you caught that. I have edited the post to correct that error.
Very neat tutorial! I use the same machine binding method which is pinning the folded binding to the front and back. Then using a decorative stitch on the binding I sew the binding on in one step. With the decorative stitches, the binding is always sewed on the back. With the straight stitch binding, I would always miss a section of binding on the back but the decorative stitches work well for me :) And I use the binding tool which works perfectly!
thanks for the post, I only machine bind, hate the whole sewing binding by hand. I do the same as the red pepper quilts, but I dont pin it, I just sort of have a feel for making it straight as I found pinning took too long and I had too many gaps. I probably need to try a few other methods too, just to explore my options.
great tutorials - thanks
I used your flanged binding tutorial just yesterday ;-) Thanks for putting all the tips in one spot.
Lorna, this is the most thorough and comprehensive set of tutorials on machine sewn binding I have ever seen! You've done and amazing job and it is all very clear and easy to understand.
This whole series with the Tips has been wonderful! Thank you for all the work and time and thought that so obviously went into them all! I know you have made me into a better quilter!
Thank you for you're little tutorial. I really like how you curated a list of so many other resources. I'm curious to try the matched binding, I suppose I will need to put together some more quilt tops fort though.
I appreciate the variety of binding methods you showcased. It is my least favorite part of quilting and yet, it means the quilt is almost complete! I must try the flanged binding. I love how it frames the quilt.
I have only tried machine binding twice and both times it didn't go so well. :( My stitches missed the binding in some areas and weren't very straight in others. I actually enjoy hand-sewing the binding so I haven't had much motivation to try again, until I was on a real deadline recently. After madly sewing the binding by hand, my hand was a claw and I vowed to try machine binding again. Thanks for collecting all this advice in one spot!
Great stuff here, Lorna! Every time I try machine binding I'm unhappy with how mine looks. It just never turns out quite as nicely as everyone else's..haha! I need to give it another shot...
Thank you Lorna! Your bindings are impeccable! Inspiration!
Great tutorial! I do almost all of my bindings by hand, but I am practicing machine stitching them using charity quilts. It is a great way to get some quilt tops finished, great practice, and a great cause :)
I don't know if I can give up hand binding, but if I try, I know where to come for help! I made a matched binding on my Voyageur quilt by doing it in two separate pieces, and joining it twice, instead of just once, if that makes any sense....thanks so much for all your helpful tips!
This isn't just for new quilters! What a great list of resources... I've pinned it for future reference!
Post a Comment